ちょっとログ等のデータ分析をする必要が出てきたので、せっかくなのでRedshiftを使ってみようかと。
でもRedshiftってビジュアライゼーションとかはしてくれないし、SQLでクエリ組み立てたりしなければいけなくてちょっと面倒だなーと。
画面でもポチポチってできたらいいよねってことでBIツールのJaspersoftを使ってみる。
今回はJaspersoftの無償で使えるコミュニティエディション*1を使います。
Redshift
RedshiftはAWSが提供するDWHサービスです。Redshiftそのもののもっと詳しい話は以下の記事とかを参考にしてください。
Amazon Redshiftではじめるビッグデータ処理入門:連載|gihyo.jp … 技術評論社
とりあえず、さくさくっとクラスタを起動してしまいます。
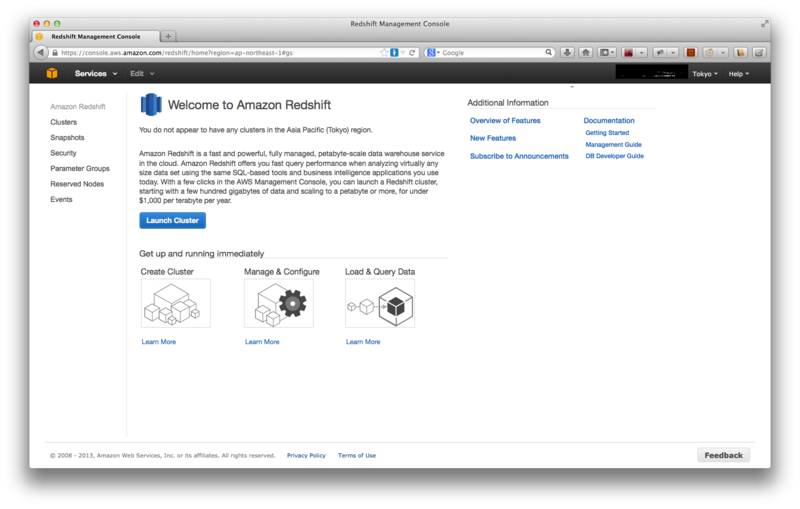
まずはAWSのマネジメントコンソールを開いてサービスからRedshiftを選択して画面を開く。
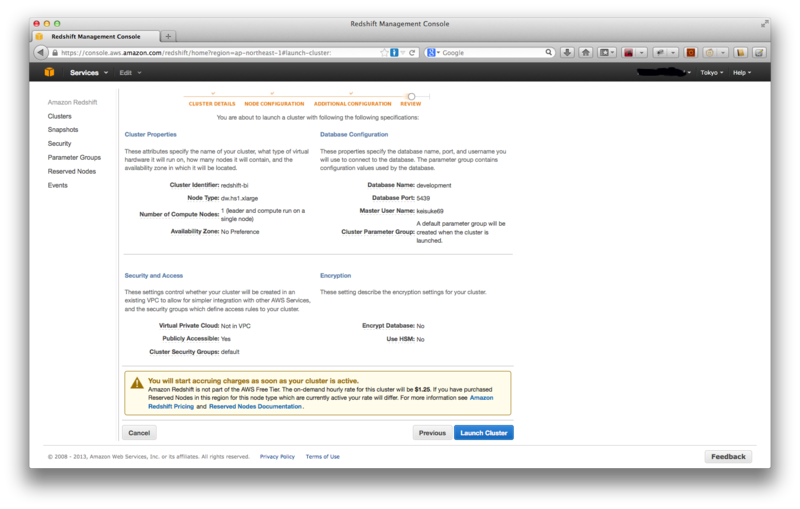
「LaunchCluster」をクリックし、次の画面でクラスタ名とかを入力する。
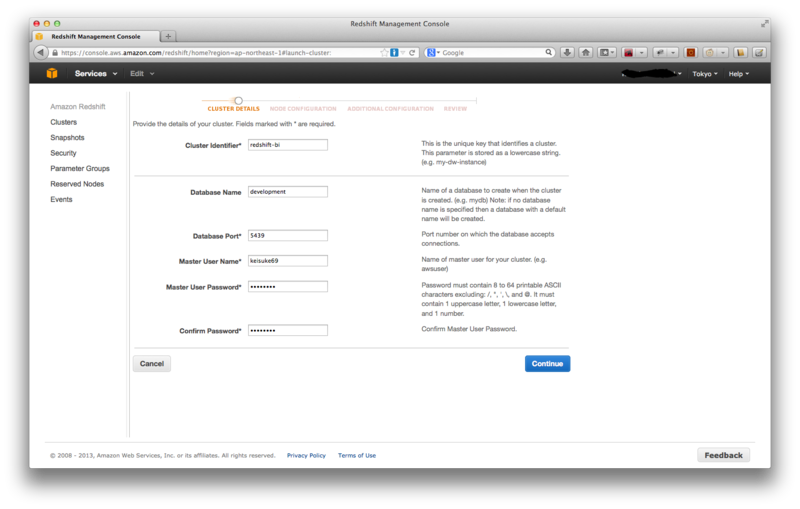
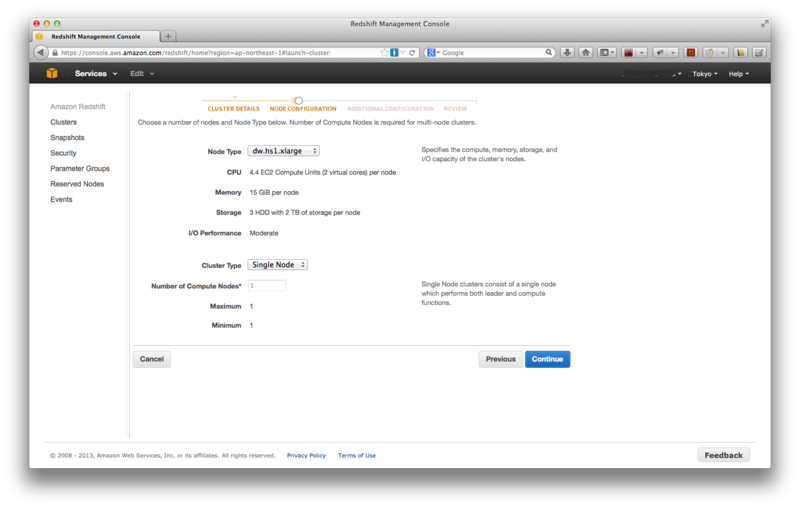
続いてNode TypeやCluster Typeを選択します。今回はとりあえずなのでNode Typeはdw.hs1.xlarge、Cluster TypeはSingle Nodeを選択。
続いて追加設定の画面が表示されるが、今回は全てデフォルト値のままで。VPCで起動するなんてのも設定できるが今回はしない。
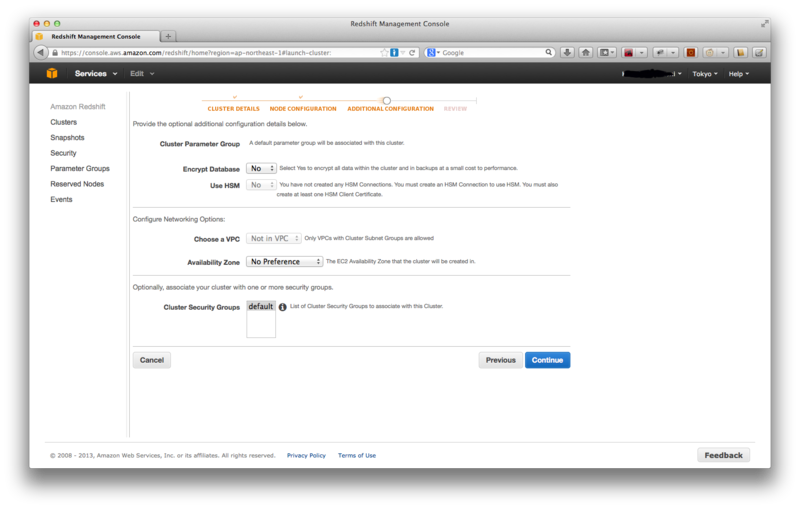
ひと通り確認して問題なければ「Launch Cluster」をクリック。
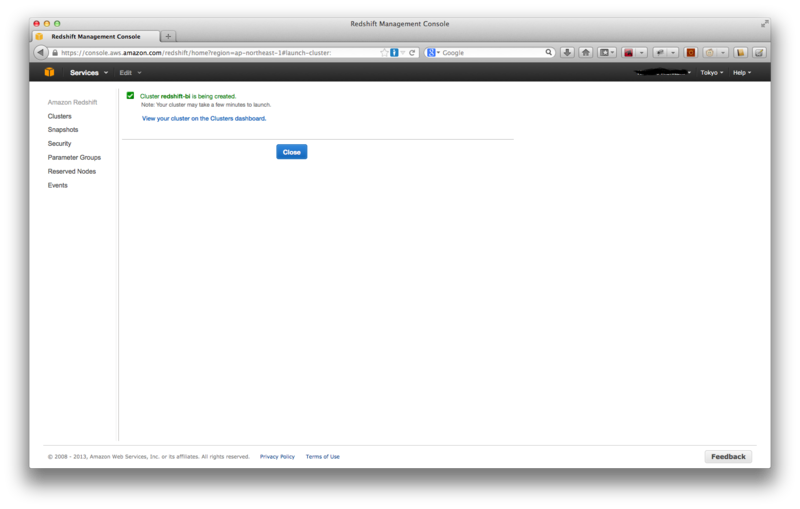
Clusterの作成にはしばらくかかるのでその間にセキュリティグループの設定やJaspersoftのインストールをしてしまう。
セキュリティグループの設定
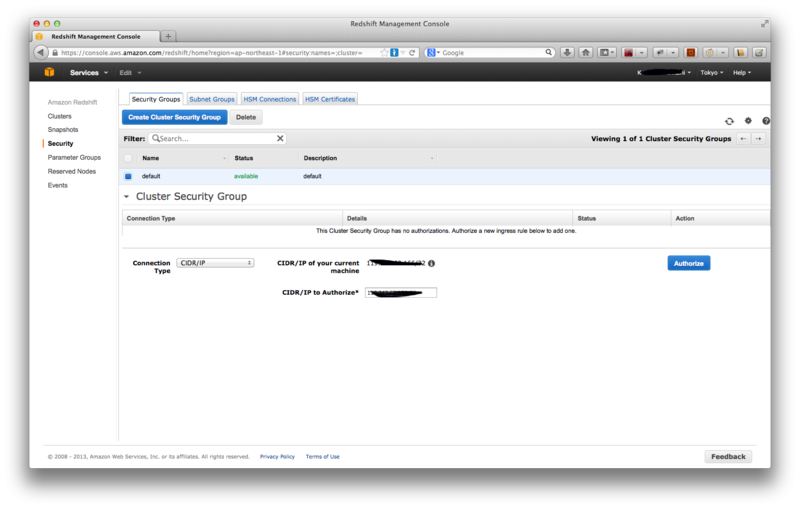
左側のメニューからSecurityをクリックし、表示された一覧からdefaultを選択する。
Connection Typeとして「CIDR/IP」と「EC2 Security Group」が選べるが今回は手持ちのMacから接続するので「CIDR/IP」を選択。
すると「CIDR/IP of your current machine」として現在接続中のマシンのIPが表示されるのでそれを「CIDR/IP to Authorize」に転記して「Authorize」をクリック。
JasperReports Serverのインストール
Clusterの作成を待つ間にBIツールであるJasperReports Serverのインストールを行う。
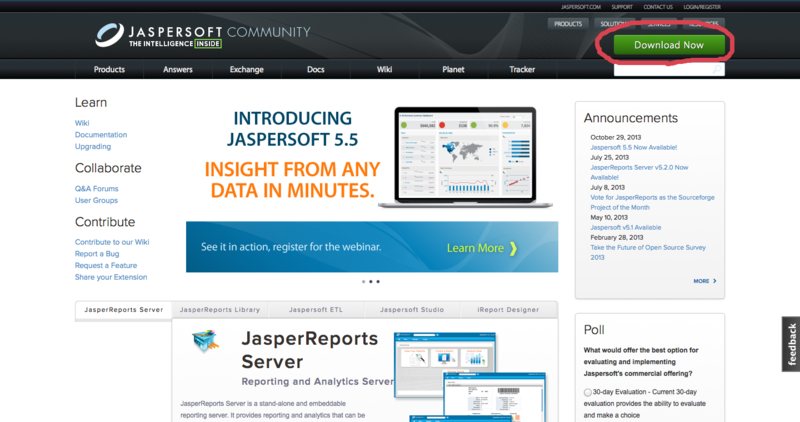
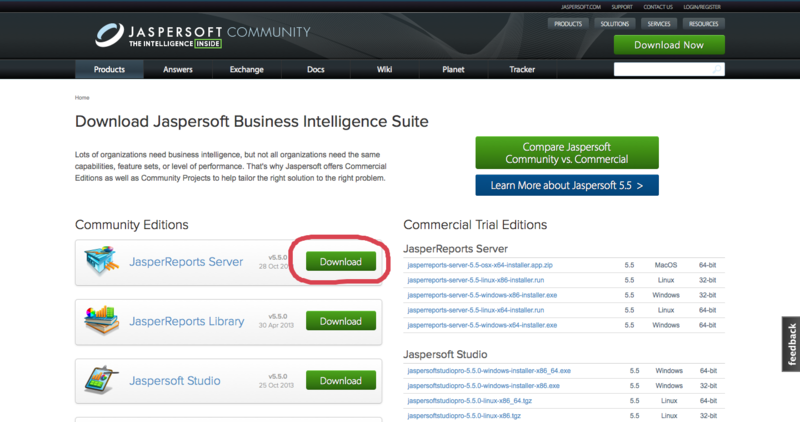
ダウンロードはJaspersoft Communityのサイトから。なお、今回は手持ちのMac入れるのでMacOSX版(jasperreports-server-cp-5.5.0-osx-x64-installer.app.zip)をダウンロードする。
なお、ダウンロードにはユーザ登録もしくはTwitter、Facebook等のソーシャルアカウントでのログインが必要で、今回はTwitterアカウントで登録しました。
ダウンロードしたファイルを解凍するとインストーラが出現するのでダブルクリック。
あとは基本的にインストーラの指示に従ってNextをクリックしていく。
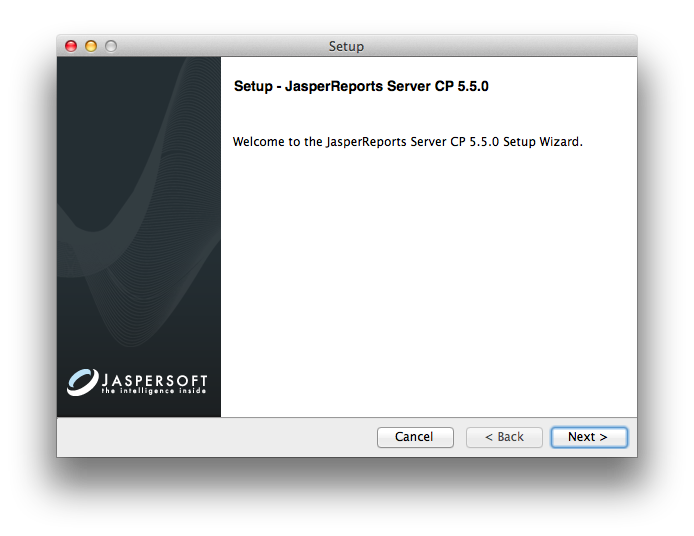
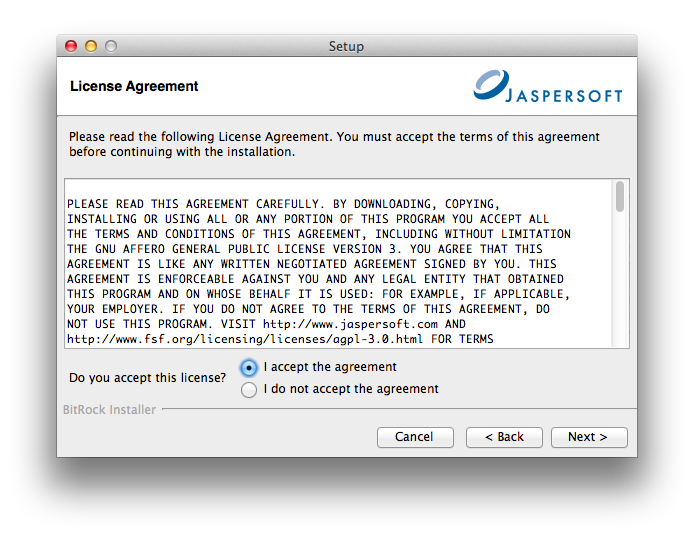
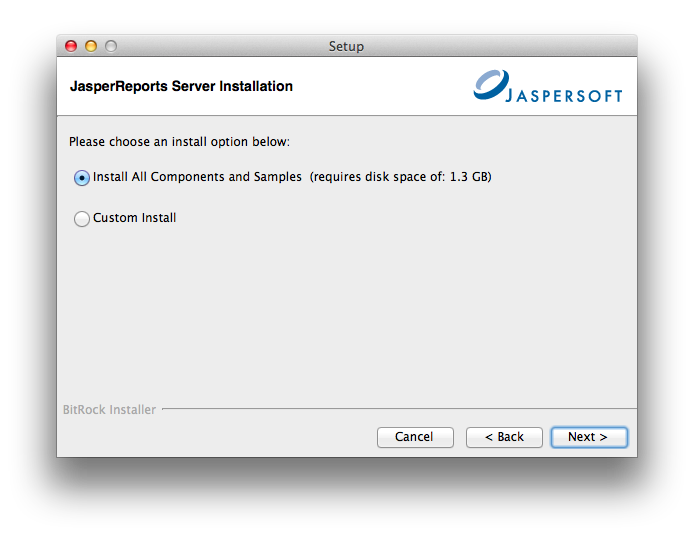
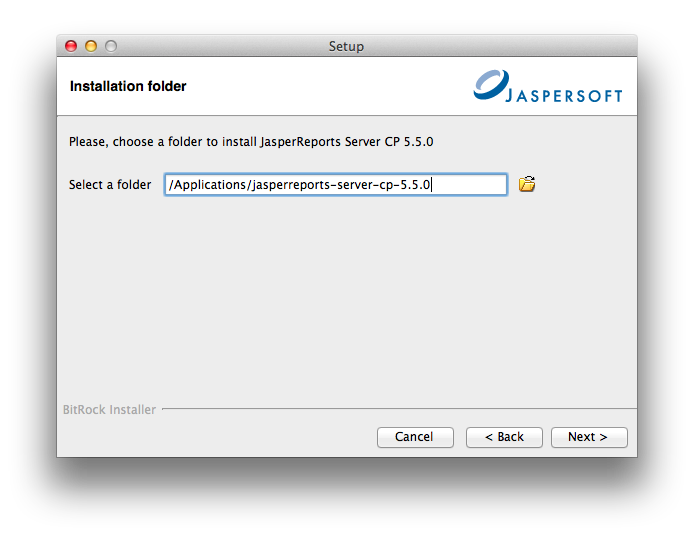
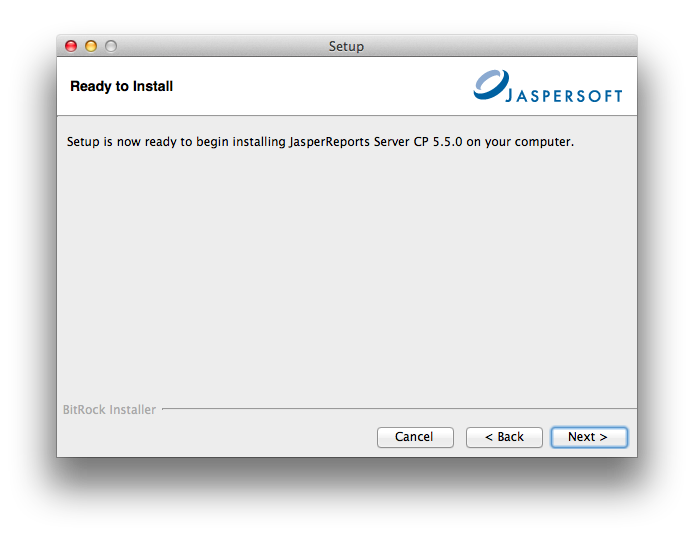
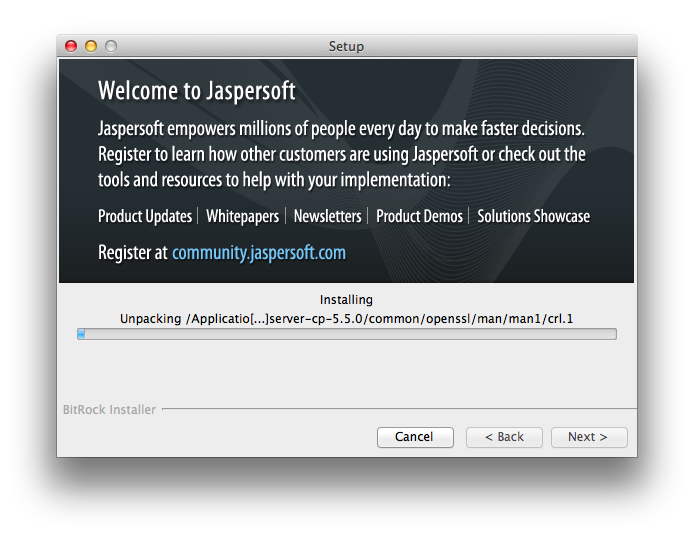
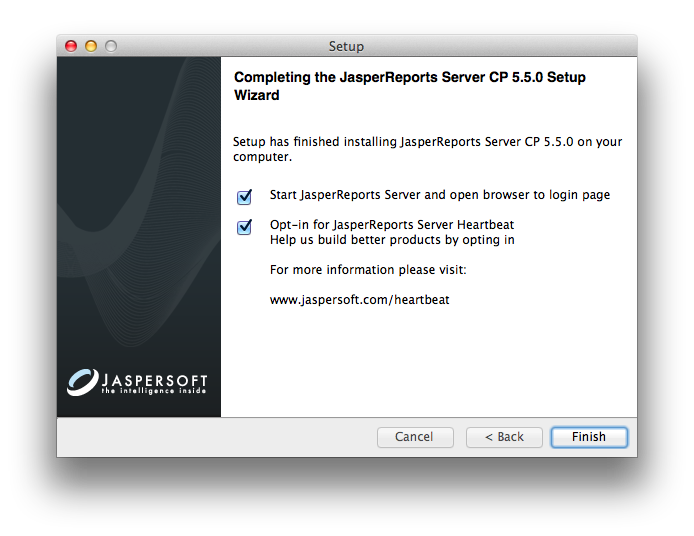
インストールが終了し最後にFinishを押すとインストーラが終了してJasperReports Serverが起動されブラウザが自動で開き初期画面が表示される。
自動で開かなかった場合はhttp://localhost:8081/jasperserver/login.htmlにブラウザからアクセスする。
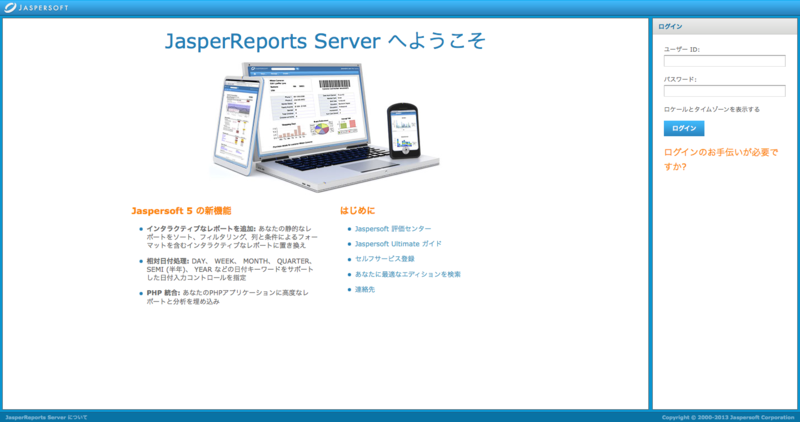
「ログインのお手伝いが必要ですか」というリンクをクリックすると、初期ユーザとパスワードが表示されます。ここではjasperadmin/jasperadminでログインする。
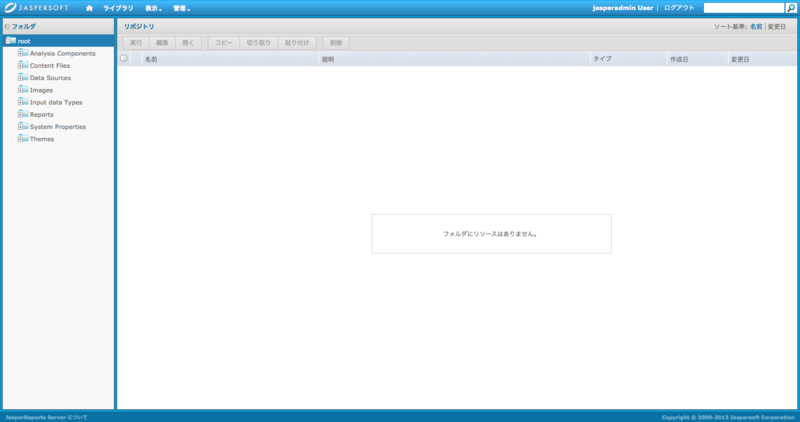
ログインすると以下のような画面が表示されるが、この時点ではまだ何のデータもないので当然ながら何も表示されない。
データの準備
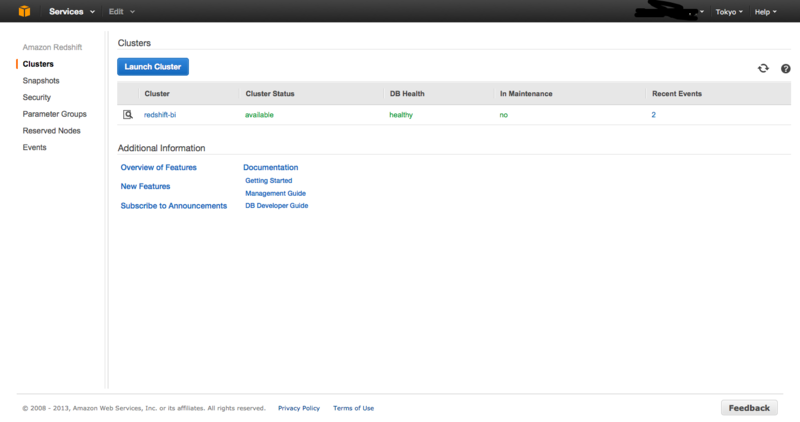
さて、Jaspersoftのインストールをしている間にClusterの作成が終わってるかと。「Cluster status」が「available」になってれば作成完了している。
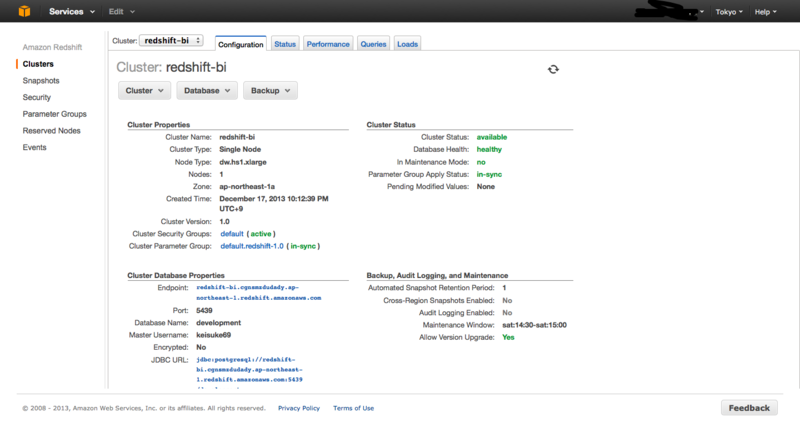
Cluster名をクリックすると詳細情報が表示されるのでざっと確認しておく。
このあとJaspersoftから接続する際に利用するJDBCのURLは画面中ほど、Cluster Database Propertiesの中に記載されている。
なお、今回はGetting Started with Amazon Redshift - Amazon Redshiftに従ってデータを準備していく。
まず、Step 5: Create Tables, Upload Data, and Try Example Queries - Amazon Redshiftに従ってテーブルを作る。
今回は自分のMacにあらかじめ入れてあるpsqlを使って接続して実行したけれど、AWSのガイドのようにSQL Workbenchを使ってもいい。
psqlで接続する場合は以下のようにターミナルからコマンドを実行する。
psql -h <endpoint> -U <userid> -d <databasename> -p <port>
- <endpointは詳細画面で表示されているEndopoint
- <userid>はCluster作成時に指定したユーザ
- <databasename>はCluster作成時に設定したデータベース名
- <port>は詳細画面に表示されているPort
実際にはこんな感じ。
psql -h redshift-bi.cgnsmzdudady.ap-northeast-1.redshift.amazonaws.com -U keisuke69 -d development -p 5439
Password for user keisuke69:
psql (9.2.3, server 8.0.2)
WARNING: psql version 9.2, server version 8.0.
         Some psql features might not work.
SSL connection (cipher: DHE-RSA-AES256-SHA, bits: 256)
Type "help" for help.

development=#
早速ガイドに従ってテーブルを作っていく。
development=#
development=# create table users(
development(# userid integer not null distkey sortkey,
development(# username char(8),
development(# firstname varchar(30),
development(# lastname varchar(30),
development(# city varchar(30),
development(# state char(2),
development(# email varchar(100),
development(# phone char(14),
development(# likesports boolean,
development(# liketheatre boolean,
development(# likeconcerts boolean,
development(# likejazz boolean,
development(# likeclassical boolean,
development(# likeopera boolean,
development(# likerock boolean,
development(# likevegas boolean,
development(# likebroadway boolean,
development(# likemusicals boolean);
CREATE TABLE
development=# create table venue(
development(# venueid smallint not null distkey sortkey,
development(# venuename varchar(100),
development(# venuecity varchar(30),
development(# venuestate char(2),
development(# venueseats integer);
CREATE TABLE
development=# create table category(
development(# catid smallint not null distkey sortkey,
development(# catgroup varchar(10),
development(# catname varchar(10),
development(# catdesc varchar(50));
CREATE TABLE
development=# create table date(
development(# dateid smallint not null distkey sortkey,
development(# caldate date not null,
development(# day character(3) not null,
development(# week smallint not null,
development(# month character(5) not null,
development(# qtr character(5) not null,
development(# year smallint not null,
development(# holiday boolean default('N'));
CREATE TABLE
development=# create table event(
development(# eventid integer not null distkey,
development(# venueid smallint not null,
development(# catid smallint not null,
development(# dateid smallint not null sortkey,
development(# eventname varchar(200),
development(# starttime timestamp);
CREATE TABLE
development=# create table listing(
development(# listid integer not null distkey,
development(# sellerid integer not null,
development(# eventid integer not null,
development(# dateid smallint not null  sortkey,
development(# numtickets smallint not null,
development(# priceperticket decimal(8,2),
development(# totalprice decimal(8,2),
development(# listtime timestamp);
CREATE TABLE
development=# create table sales(
development(# salesid integer not null,
development(# listid integer not null distkey,
development(# sellerid integer not null,
development(# buyerid integer not null,
development(# eventid integer not null,
development(# dateid smallint not null sortkey,
development(# qtysold smallint not null,
development(# pricepaid decimal(8,2),
development(# commission decimal(8,2),
development(# saletime timestamp);
CREATE TABLE
development=#
続いてサンプルデータをロードする。今回はCOPYコマンドであらかじめS3に用意されているサンプルデータをロードする。
指定するURLはClusterを作成したリージョンごとに異なるので注意。
今回は東京リージョンで作成したので以下のようになる。AWSのアクセスキーとシークレットキーはご自分のものを。
なお、実行すると若干時間がかかる。
development=#copy users from 's3://awssampledbapnortheast1/tickit/allusers_pipe.txt' CREDENTIALS 'aws_access_key_id=<Your-Access-Key-ID>;aws_secret_access_key=<Your-Secret-Access-Key>' delimiter '|';
development=#copy venue from 's3://awssampledbapnortheast1/tickit/venue_pipe.txt' CREDENTIALS 'aws_access_key_id=<Your-Access-Key-ID>;aws_secret_access_key=<Your-Secret-Access-Key>' delimiter '|';
development=#copy category from 's3://awssampledbapnortheast1/tickit/category_pipe.txt' CREDENTIALS 'aws_access_key_id=<Your-Access-Key-ID>;aws_secret_access_key=<Your-Secret-Access-Key>' delimiter '|';
development=#copy date from 's3://awssampledbapnortheast1/tickit/date2008_pipe.txt' CREDENTIALS 'aws_access_key_id=<Your-Access-Key-ID>;aws_secret_access_key=<Your-Secret-Access-Key>' delimiter '|';
development=#copy event from 's3://awssampledbapnortheast1/tickit/allevents_pipe.txt' CREDENTIALS 'aws_access_key_id=<Your-Access-Key-ID>;aws_secret_access_key=<Your-Secret-Access-Key>' delimiter '|'
	timeformat 'YYYY-MM-DD HH:MI:SS';
development=#copy listing from 's3://awssampledbapnortheast1/tickit/listings_pipe.txt' CREDENTIALS 'aws_access_key_id=<Your-Access-Key-ID>;aws_secret_access_key=<Your-Secret-Access-Key>' delimiter '|';
development=#copy sales from 's3://awssampledbapnortheast1/tickit/sales_tab.txt'CREDENTIALS 'aws_access_key_id=<Your-Access-Key-ID>;aws_secret_access_key=<Your-Secret-Access-Key>'  delimiter '\t' timeformat 'MM/DD/YYYY HH:MI:SS';
これでひと通りデータの準備は完了。試しにクエリを実行してみる。
development=# -- Find total sales on a given calendar date.
development=# SELECT sum(qtysold)
development-# FROM   sales, date
development-# WHERE  sales.dateid = date.dateid
development-# AND    caldate = '2008-01-05';
 sum
-----
   4
(1 row)
Redshiftをデータソースとして設定する
次は先ほどインストールしたJasperReports Serverにデータソースとして作成したClusterを登録する。
先ほど表示したJaspersoftの画面に戻り、「左ペインのData Sourcesを右クリック>リソースの追加>データソース」してデータソースを追加する。
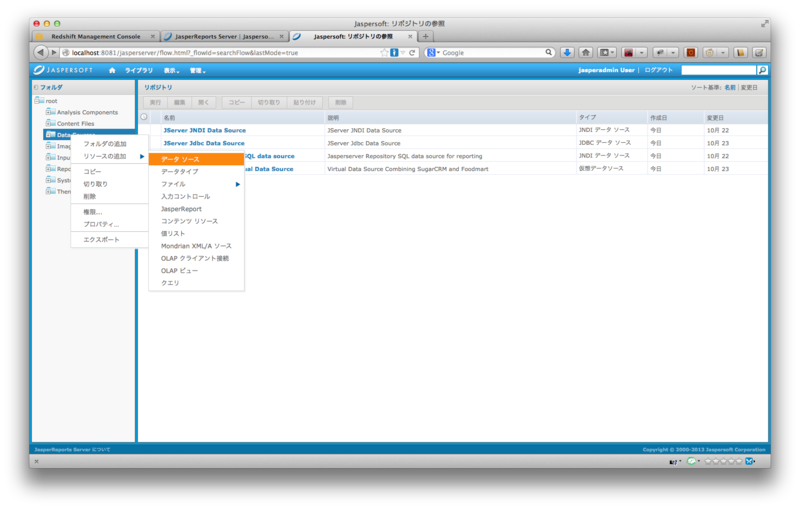
今回はタイプとして「JDBCデータソース」を選択する。「AWSデータソース」っていうのもあってそれでも設定できるらしい。
名前とかリソースIDは適当に。JDBCドライバはPostgreSQLのものを選択し、ホスト、ポート、データベース名にはRedshiftの作ったClusterのEndpointとポート、データベース名をそれぞれ指定する。ユーザ名、パスワードもRedshiftのものを。
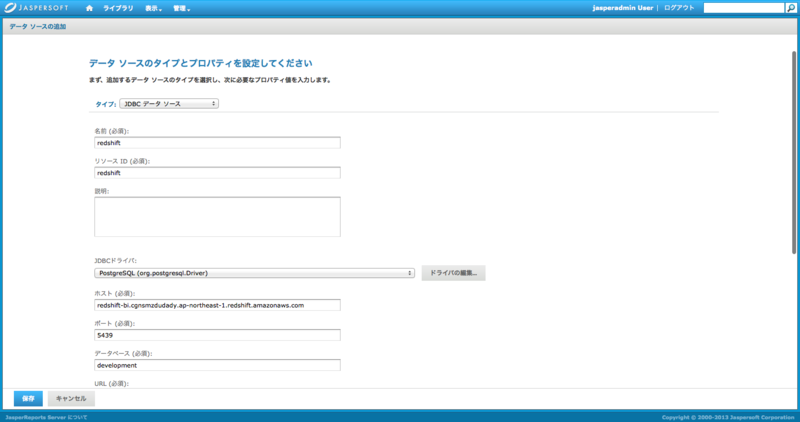
さて、ここから要約レポートとしてRedshiftで実行した処理結果をJaspersoft上でビジュアライゼーションしていこうとしたのだが、無償のコミュニティエディションではアドホックなビューは定義できないらしい…。
レポートの定義をするには別途配布されているiReportsというツールをインストールしてこれ上で作成した定義ファイルをJasperReports Serverに取り込む形になる模様。
というわけで今日はもう遅いのでここまでで終了。
実際のレポート出力はまた別途。
[2013/12/18 追記]
レポートの定義にはiReportsが必要と書いたが、今回導入したv5.5からはiReportsではなく「Jaspersoft Studio」のみがサポートされている模様。
Jaspersoft StudioはEclipseベースのJaspreReports Server向けデザイナだそうだ。
*1:本当はTableau( http://www.tableausoftware.com/ )を使ってみたいのだけどお高いので…